It's been an exciting week with daily rain and thunder showers then amazing blazing sunny periods. the veg patch Is loving the weather, im not so sure about it myself. The week was made even more exciting when the video card in our computer died, oops. Could be a few weeks till its back up and running! So this post is being written entirely from my smartphone. Which with the blogger app isn't as bad as I would have imagined.
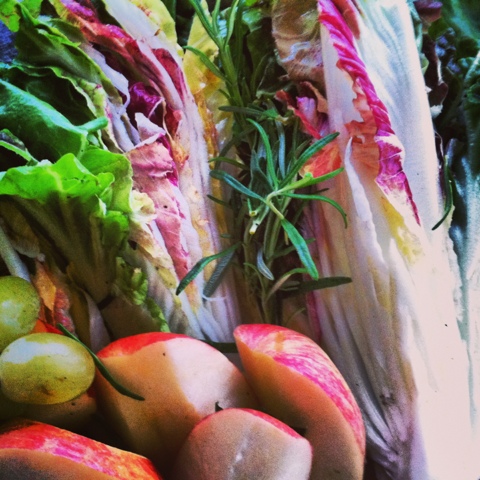
The up side is my Radicchio Treviso plants are looking fab, and I've decided to try out a recipe I've earmarked for a time like now when my plants were ready. The recipe is adapted from Around my French Table, by Dorrie Greenspan, (see Bookshelf Page, above) a must have for any enthusiastic chef who loves entertaining with simplistic and delicious food. I love recipes that toy with sweet and savoury ingredients, so this one caught my eye.
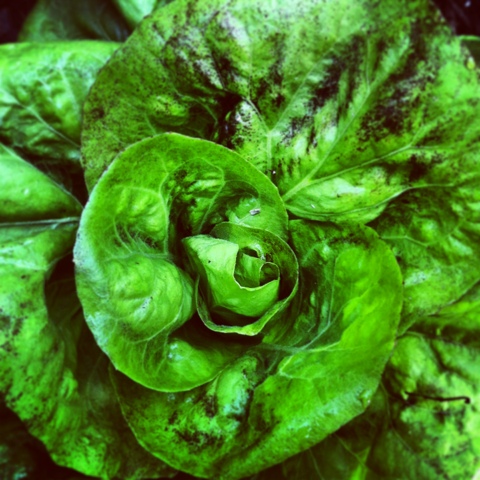
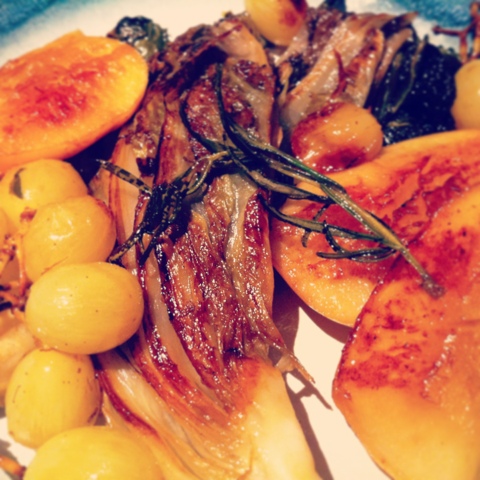
Radicchio is part of the endive/chicory family of plants thats flavours range from faintly bitter to intensely bitter. The Bitterness can change during the growing season too, depending on outside temperatures, cooler temperatures aiding in a more mild flavour. The bitterness mellows with cooking as well, adding a bit of cream helps too. This dish is slow cooked with salted butter, sweet grapes and tart apples balance out the bitter tones of the radicchio. One bite is bitter the next sweet and savoury, its a flavour sensation, and a little rosemary undertone sews the whole plate together. Enjoy!
______________________________
Radicchio, Apple and Grapes
Serves 2 as a main or 4 starters
Making this dish reminds me of cooking a tart tatin, the aromas of the butter caramelising with the apples and grapes are part of the reason. Another is the time involved, patience is key. Everything needs to be soft and melting for this dish to be perfect.
2 medium heads Radicchio Treviso or 1 large head, halved for medium heads or quartered for large
1 1/2 Gala apples, quartered and cored
3 small clumps of green grapes
3 -4 small sprigs rosemary
2 tablespoons salted butter
• place a large sauté pan on a low heat , add the butter and let melt.
• place radicchio in pan cut side down, fill in gaps with apples, grapes and rosemary, leave to bubble away slowly for 20-25 minutes
•check to see if everything is caramelising, if not turn up heat a fraction and wait to turn the fruit and radicchio.
• once browned flip everything over and repeat cooking another 20-25 minutes
• poke the radicchio, apples and grapes to make sure they are soft, check got caramelisation, if ready remove from heat and plate. If not let cook longer adjusting heat if necessary.
• add a small bit of water to the pan to make a scant amount of sauce and spoon over the finished dish


